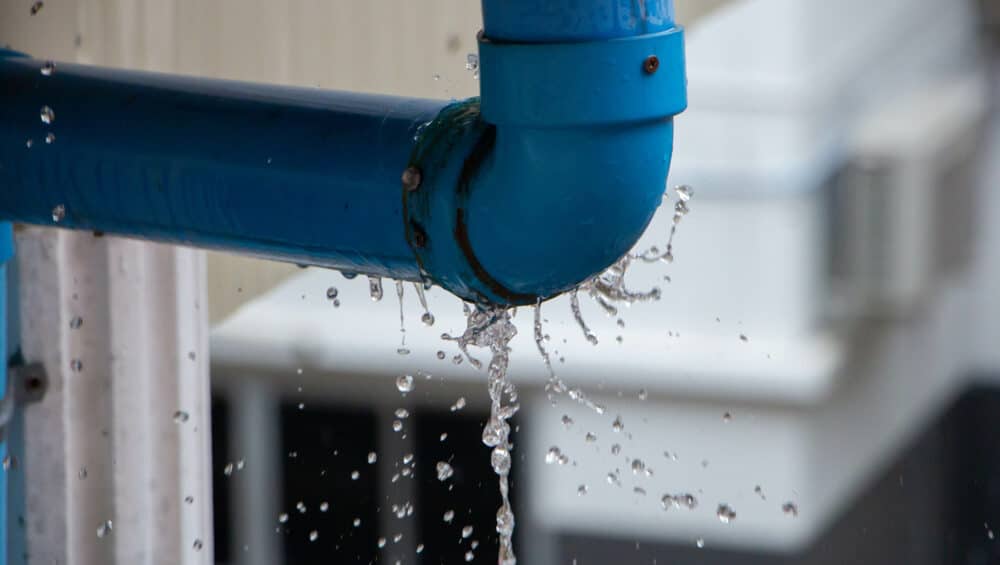
A burst pipe in your home is a critical issue that demands immediate attention. The implications of ignoring such a problem are vast, including significant water damage to your home’s structure, potential mold growth, and a hefty increase in your water bill. Knowing how to address a burst pipe promptly can mitigate these risks, preserving the integrity of your home and ensuring the safety and comfort of its inhabitants. This guide aims to arm you with the knowledge to tackle this emergency plumbing repair head-on, minimizing damage and restoring normalcy as swiftly as possible.
1. Safety First
Before attempting any repairs on a burst pipe, prioritizing safety is paramount. Begin by turning off the main water supply to halt the flow of water and prevent further damage. Equally important is shutting off the electricity in the affected area to eliminate the risk of electrical hazards, especially if water has leaked near electrical outlets or appliances. Wearing protective gear, such as gloves and goggles, can protect you from unexpected hazards like sharp edges on the burst pipe. Taking these precautions ensures a safe environment for you to perform the necessary repairs effectively.
2. Identify the Burst Pipe
Locating the burst pipe is the first step in addressing this emergency. Signs of a burst pipe include visible water stains on walls or ceilings, puddles of water on the floor, or the distinct sound of hissing or running water behind walls. These indicators can help pinpoint the source of the leak. Once identified, assessing the extent of the damage is crucial for determining the appropriate repair method. This step requires careful observation and sometimes accessing hidden pipes in crawlspaces or behind walls, emphasizing the importance of a thorough inspection.
3. Gather Necessary Tools
Having the right tools and materials on hand is crucial for a successful repair. Essential items include pipe cutters for removing the damaged section, pipe clamps or rubber patches for temporary fixes, and replacement pipes or fittings for permanent repairs. Additionally, having a bucket nearby to catch any dripping water, along with towels or rags for cleanup, can help manage the mess. Depending on the repair method, you may also need soldering equipment or push-fit connectors. Gathering these supplies before starting the work streamlines the repair process and reduces the time your water supply is turned off. If you need more knowledge on the necessary tool please look here for additional info.
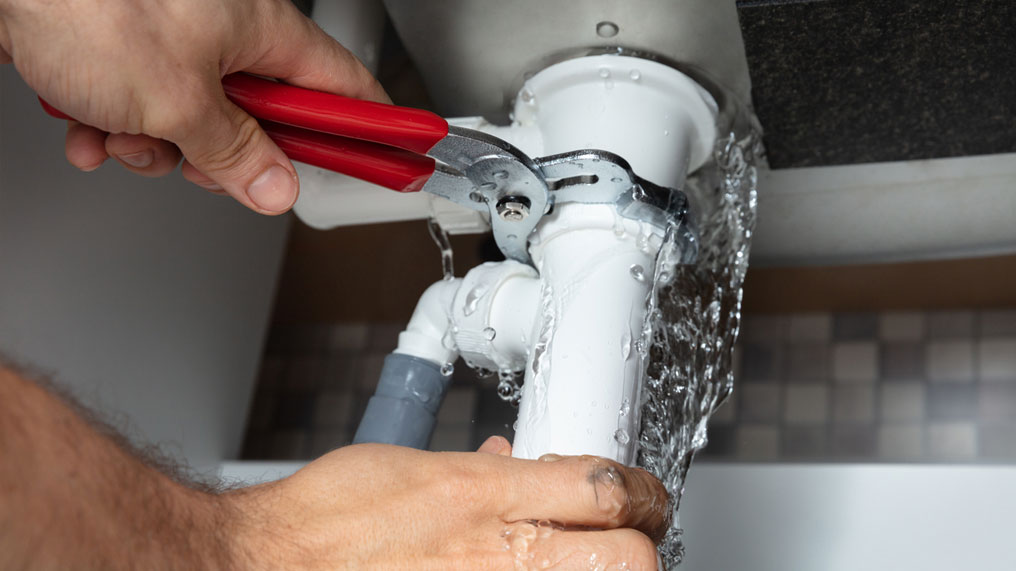
4. Shut Off the Water Supply
Shutting off the main water supply is a critical step in preventing further water damage. Locate the main shut-off valve, which is typically found near the water meter or where the main water line enters your home. Turning this valve off stops the flow of water to the entire house, allowing you to work on the burst pipe without the interference of water. In some cases, if the burst pipe is isolated to a single area, such as a bathroom, you may be able to shut off the water locally. However, turning off the main supply is generally recommended to ensure a dry work area.
5. Drain the Pipes
After the water supply is turned off, draining the remaining water from the pipes is essential to avoid a mess during the repair. Open all faucets and taps in your home, starting with the highest point and moving to the lowest, to allow water to drain out completely. This step also helps to relieve any built-up pressure within the pipes, reducing the risk of further damage during the repair process. Draining the pipes ensures a dry working environment, making it easier to cut out the damaged section and install a new pipe.
6. Temporary Fixes
In some situations, a temporary fix may be necessary to stop the flow of water until a more permanent repair can be made. Using a pipe clamp or a rubber patch and hose clamps can quickly seal the leak, preventing further water damage. These solutions are ideal for small leaks or when immediate repair is not possible. Although temporary, these fixes can provide valuable time to gather the necessary tools and materials for a permanent solution. However, it’s important to monitor the temporary repair closely and proceed with a more durable fix as soon as feasible.
7. Cut Out the Damaged Section
Removing the damaged section of the pipe requires precision and care. Use a pipe cutter to make clean, straight cuts on either side of the burst. Ensuring the cuts are smooth and even is crucial for a secure fit when installing a new pipe section. If the damaged pipe is made of copper, be sure to remove any burrs or sharp edges that could impede a good seal. For PVC or other plastic pipes, a hacksaw or a special PVC cutter can be used. This step is foundational for a successful repair, setting the stage for installing the new pipe section.
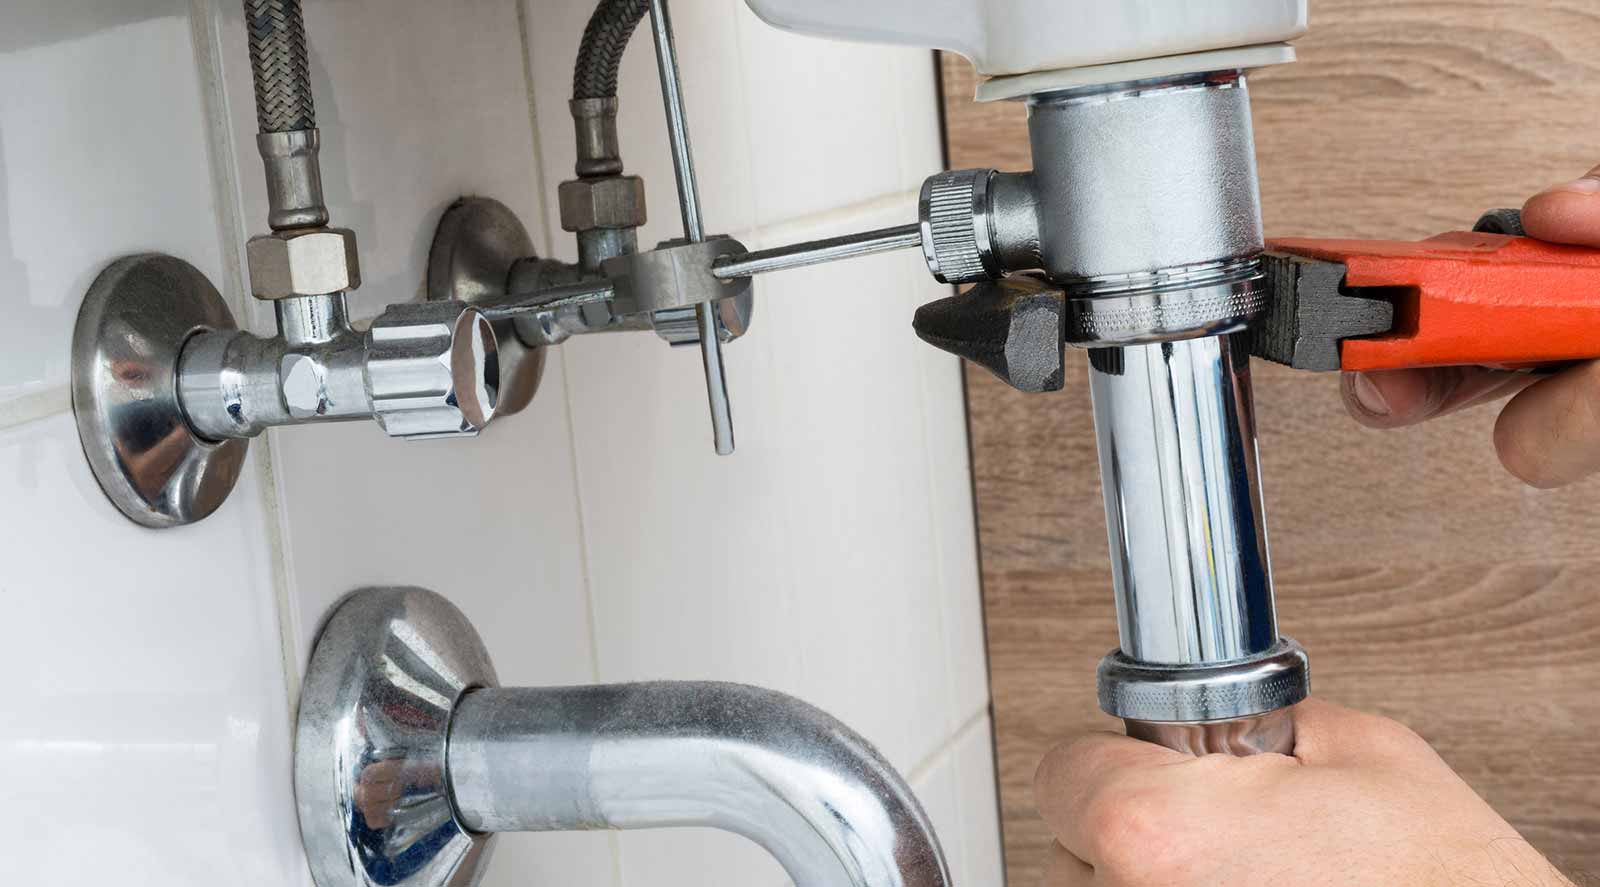
8. Install a New Pipe Section
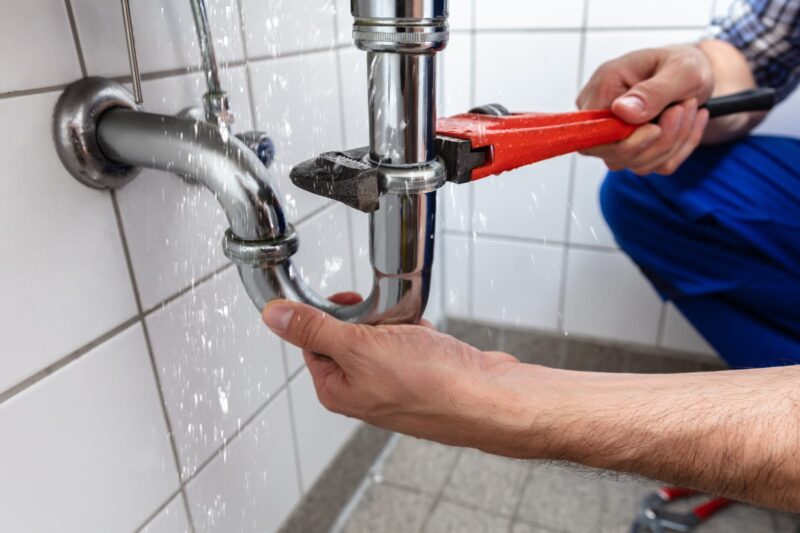
Installing a new section of pipe involves choosing the right replacement material and method. For copper pipes, soldering the new piece in place creates a strong, leak-proof connection. This method requires a torch and solder, demanding a level of skill and safety precautions. Alternatively, push-fit connectors offer a simpler, tool-free solution for connecting new sections of pipe, suitable for both copper and PVC pipes. Ensuring a tight, secure fit is essential to prevent future leaks. After installation, wrapping the connection with plumbing tape can add an extra layer of security.
9. Test the Repair
Before declaring the repair complete, testing the connection is crucial to ensure it holds under pressure. Slowly turn the main water supply back on and observe the repaired section for any signs of leaking. It’s advisable to leave the water running for several minutes, checking not only the repaired area but also adjacent connections for any signs of weakness. If leaks are detected, tightening the connections or applying additional sealant may be necessary. A successful test indicates a secure repair, allowing you to restore normal water usage with confidence.
10. Common Mistakes to Avoid
Several common mistakes can compromise a burst pipe repair. Overlooking the importance of completely draining the pipes before starting the repair can lead to water mess and potential hazards. Using mismatched materials or incorrect fitting sizes can cause new leaks, undoing the repair efforts. Rushing the process without thoroughly testing the repair under pressure can lead to overlooked leaks. By avoiding these pitfalls, homeowners can ensure a more successful and durable repair, protecting their homes from further damage.
Conclusion
Dealing with a burst pipe requires prompt action, the right tools, and a methodical approach. From identifying the burst pipe to testing the repair, each step is crucial for mitigating water damage and restoring your plumbing system’s integrity. While temporary fixes can provide immediate relief, a permanent repair ensures long-term functionality and peace of mind. Remember, while this guide equips you with the knowledge to tackle burst pipe repairs, seeking professional help is advisable for complex situations or when in doubt. Quick, effective action can save your home from significant damage, highlighting the importance of being prepared for such emergencies.