In the world of home improvement, few projects have the transformative power of replacing kitchen tiles. It’s a renovation endeavor that can breathe new life into your culinary space, elevating both its aesthetic appeal and functionality. In this guide, we’ll explore the essential steps and considerations involved in embarking on this exciting journey, from assessing the need for replacement to choosing the right ceramic, budgeting for the project, gathering the necessary tools and materials, and preparing the workspace.
Assessing the Need for Replacement
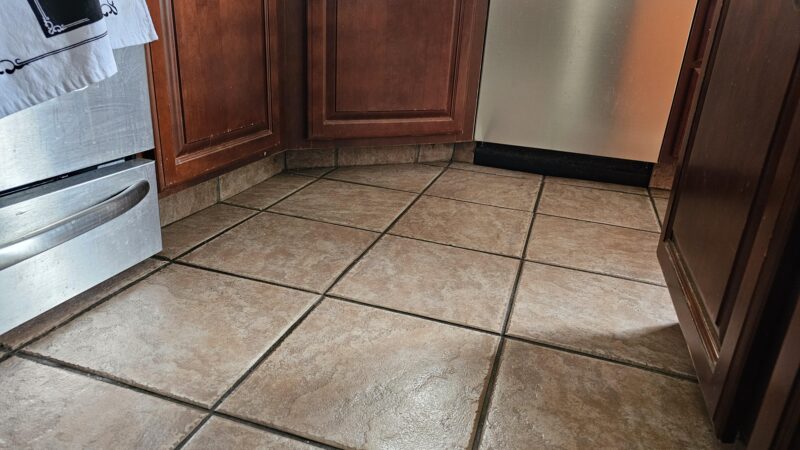
Before diving into the tile replacement process, it’s crucial to assess whether your kitchen tiles are due for an upgrade. Over time, wear and tear, damage, or outdated designs can diminish the overall appeal of your kitchen. Signs of wear may manifest as cracks, chipped tiles, or discoloration. Damaged paver, whether from accidents or neglect, can create safety hazards and compromise the integrity of your kitchen’s surfaces. Additionally, outdated designs may no longer align with your evolving style preferences. Evaluating these factors will help you determine if it’s time for a change.
Choosing the Right Tiles
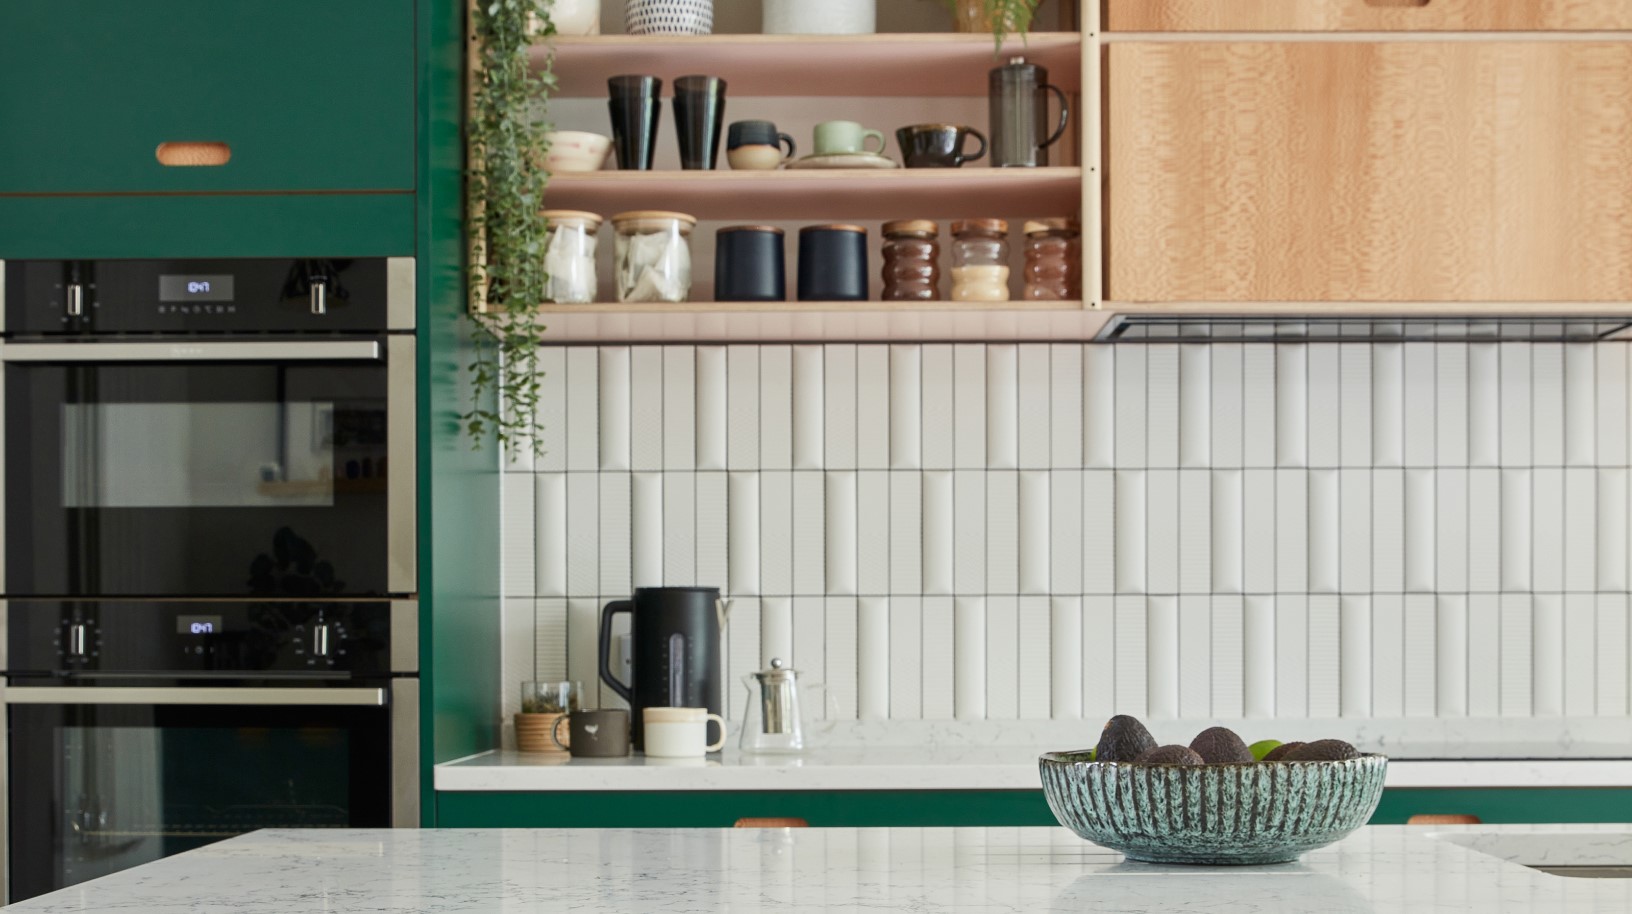
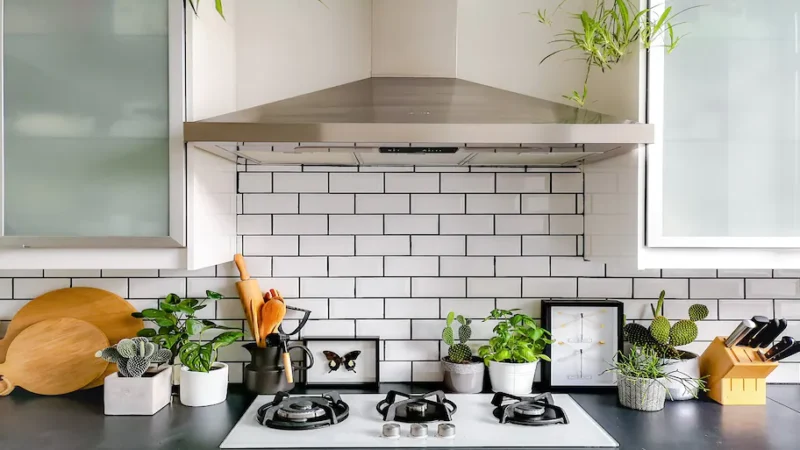
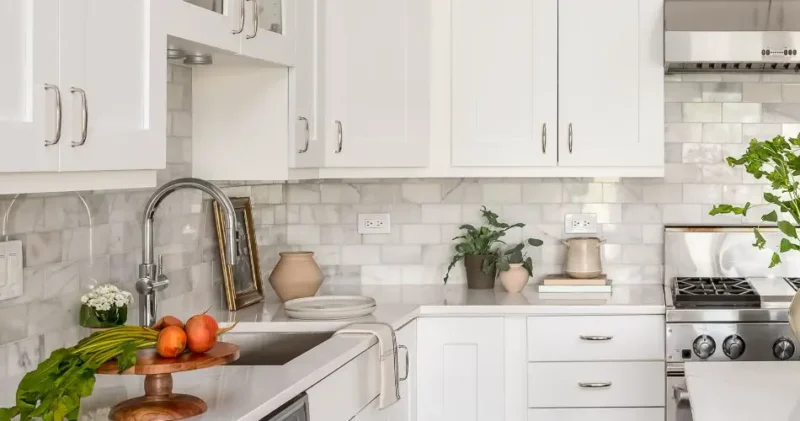
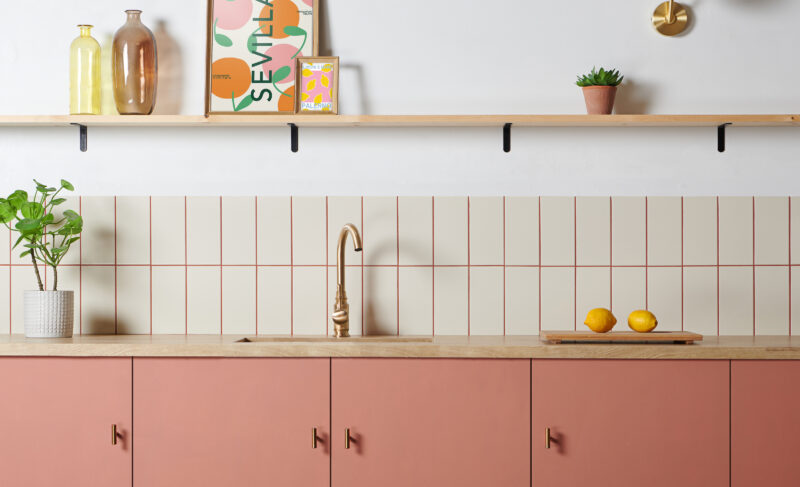
Selecting the perfect tiles for your kitchen is a pivotal decision that can significantly impact the overall look and feel of the space. There are various types of tiles suitable for kitchen floors and backsplashes, each with its unique characteristics. Ceramic tiles, known for their durability and versatility, are a popular choice. Porcelain tiles offer water-resistant properties, making them ideal for areas prone to moisture. Natural stone tiles, such as granite or marble, add a touch of luxury. Glass ceramic can introduce a modern and reflective element. The key is to choose ceramic that not only matches your kitchen’s style but also aligns with your lifestyle and maintenance preferences. Consider factors like color, texture, and size to achieve the desired aesthetic. For help with the selection please visit this website.
Budgeting for the Project
Planning your budget for a tile replacement project is essential to avoid unexpected financial stress. It’s crucial to factor in all potential costs, including tile expenses, labor fees, tools, and materials. The cost of ceramic can vary significantly depending on the type, quality, and quantity required. Labor fees are another consideration, especially if you opt for professional installation. Tools and materials, such as adhesive, grout, spacers, and tile-cutting equipment, should also be accounted for. To create a realistic budget, research prices, obtain multiple quotes, and add a contingency fund to cover any unforeseen expenses that may arise during the project.
Gathering Necessary Tools and Materials
Once you’ve established your budget, it’s time to gather the essential tools and materials needed for a successful tile replacement project. The tools you’ll require may include a tile cutter, trowel, spacers, notched trowel, rubber mallet, and a grout float. Materials like adhesive, grout, and caulk are fundamental for securing and finishing the ceramic. Safety gear, such as goggles and knee pads, is also crucial for protection during the installation process. Depending on the scale of your project, you may need to purchase or rent some of these tools.
Preparing the Workspace
Preparing your kitchen for tile replacement is a crucial step that sets the stage for a smooth and efficient project. Begin by clearing out appliances, furniture, and any items that may obstruct access to the areas being tiled. This includes emptying cabinets and removing any items on countertops. Additionally, cover surfaces that won’t be tiled, such as cabinets and appliances, with protective materials to prevent damage from dust, adhesive, or grout.
Removing Old Tiles
Removing old tiles is the crucial first step in your kitchen tile replacement project. Start by carefully prying off the ceramic using a chisel and hammer. Take your time to avoid damaging the underlying surface, whether it’s drywall, cement board, or plywood. If the adhesive is stubborn, consider using a heat gun to soften it. Once the ceramic is off, remove any adhesive residue using a scraper. Be patient to prevent gouging the surface.
Preparing the Substrate
A smooth and level substrate is the foundation for a successful tile installation. Inspect the surface for imperfections, such as cracks or uneven spots. Use a patching compound to fill in any gaps or holes and sand the substrate until it’s even. It’s essential to ensure that the surface is clean and free of debris before proceeding with the ceramic installation. A well-prepared substrate guarantees that your new ceramic will adhere properly and remain flat.
Tile Layout and Design
Tile layout and design are where your creativity can shine. There are various ceramic layout patterns to consider, such as herringbone, subway, or diagonal layouts. Each pattern has a unique visual impact that can transform your kitchen. Experiment with different options before settling on a layout that suits your style and space. To create a cohesive design, choose a color scheme that complements your kitchen’s aesthetics and ensures a harmonious look.
Installing New Tiles
Properly installing new tiles is essential for a durable and beautiful kitchen surface. Begin by applying a thin-set adhesive to the substrate using a notched trowel. Pay attention to spacing between tiles, using ceramic spacers to maintain uniform gaps. Press the ceramic firmly into the adhesive, ensuring they are level and aligned according to your chosen layout. Be meticulous in trimming ceramic as needed for edges and corners. Allow the adhesive to cure for the recommended time before grouting.
Grouting and Finishing
Grouting is the final step in your tile installation process. Mix the grout according to the manufacturer’s instructions and apply it to the gaps between tiles using a rubber float. Ensure that the grout lines are filled completely. Afterward, use a damp sponge to wipe away excess grout from the ceramic surfaces, working diagonally to prevent pulling grout out of the gaps. Achieving a clean, polished look requires patience during this step. Once the grout has dried slightly, use a dry cloth to buff away any remaining haze. To prevent stains and moisture penetration, consider sealing the grout as a finishing touch.
Maintenance and Care
Your newly installed kitchen tiles will stay beautiful with proper maintenance and care. Regularly sweep or vacuum to remove dirt and debris that can scratch the surface. Use a pH-balanced ceramic cleaner for routine cleaning, avoiding abrasive chemicals that can damage the finish. Periodically, reseal the grout to maintain its protective barrier against stains and moisture. Address any loose or cracked tiles promptly to prevent further damage. By following these maintenance tips, you’ll ensure the longevity and appeal of your kitchen ceramic.
Conclusion
In conclusion, replacing kitchen tiles is a rewarding project that can enhance the aesthetics and functionality of your kitchen. By following the step-by-step process of removing old tiles, preparing the substrate, selecting an appealing tile layout, and installing new ceramic with precision, you can achieve a stunning kitchen surface. Don’t forget the importance of grouting and finishing touches to achieve a polished look. With proper maintenance and care, your kitchen tiles will continue to shine.